* keyhive sofle rgb: fix configuration. * Add Colemak-DH and cycle layer keycode. * Fix indentation. * Add PLACEHOLDER for better readability. * Fix breaking changes. * Just one colemak. * PR Cleanup * Use NO_PIN definition instead of C7 * Define animations individually * Remove via json file and update documentation * Reduce LED brightness, one of the animations caused a crash * More PR feedback. * Better credit. * Disable NKRO. * Cleanup RGB configuration. * animations defined in keymap. * Update keyboards/sofle/keyhive/readme.md * PR Feedback. * Update phrasing from template. * Disable RGBLIGHT_ENABLE in keymap for better compatibility with default keymap. * Set a default animation. * Use default in keyboard readme. * Update keyboards/sofle/keyhive/info.json * Move via specific layout into via keymap. |
||
|---|---|---|
| .. | ||
| keyhive | ||
| keymaps | ||
| rev1 | ||
| .noci | ||
| config.h | ||
| readme.md | ||
| rules.mk | ||
| sofle.c | ||
| sofle.h | ||
Sofle Keyboard
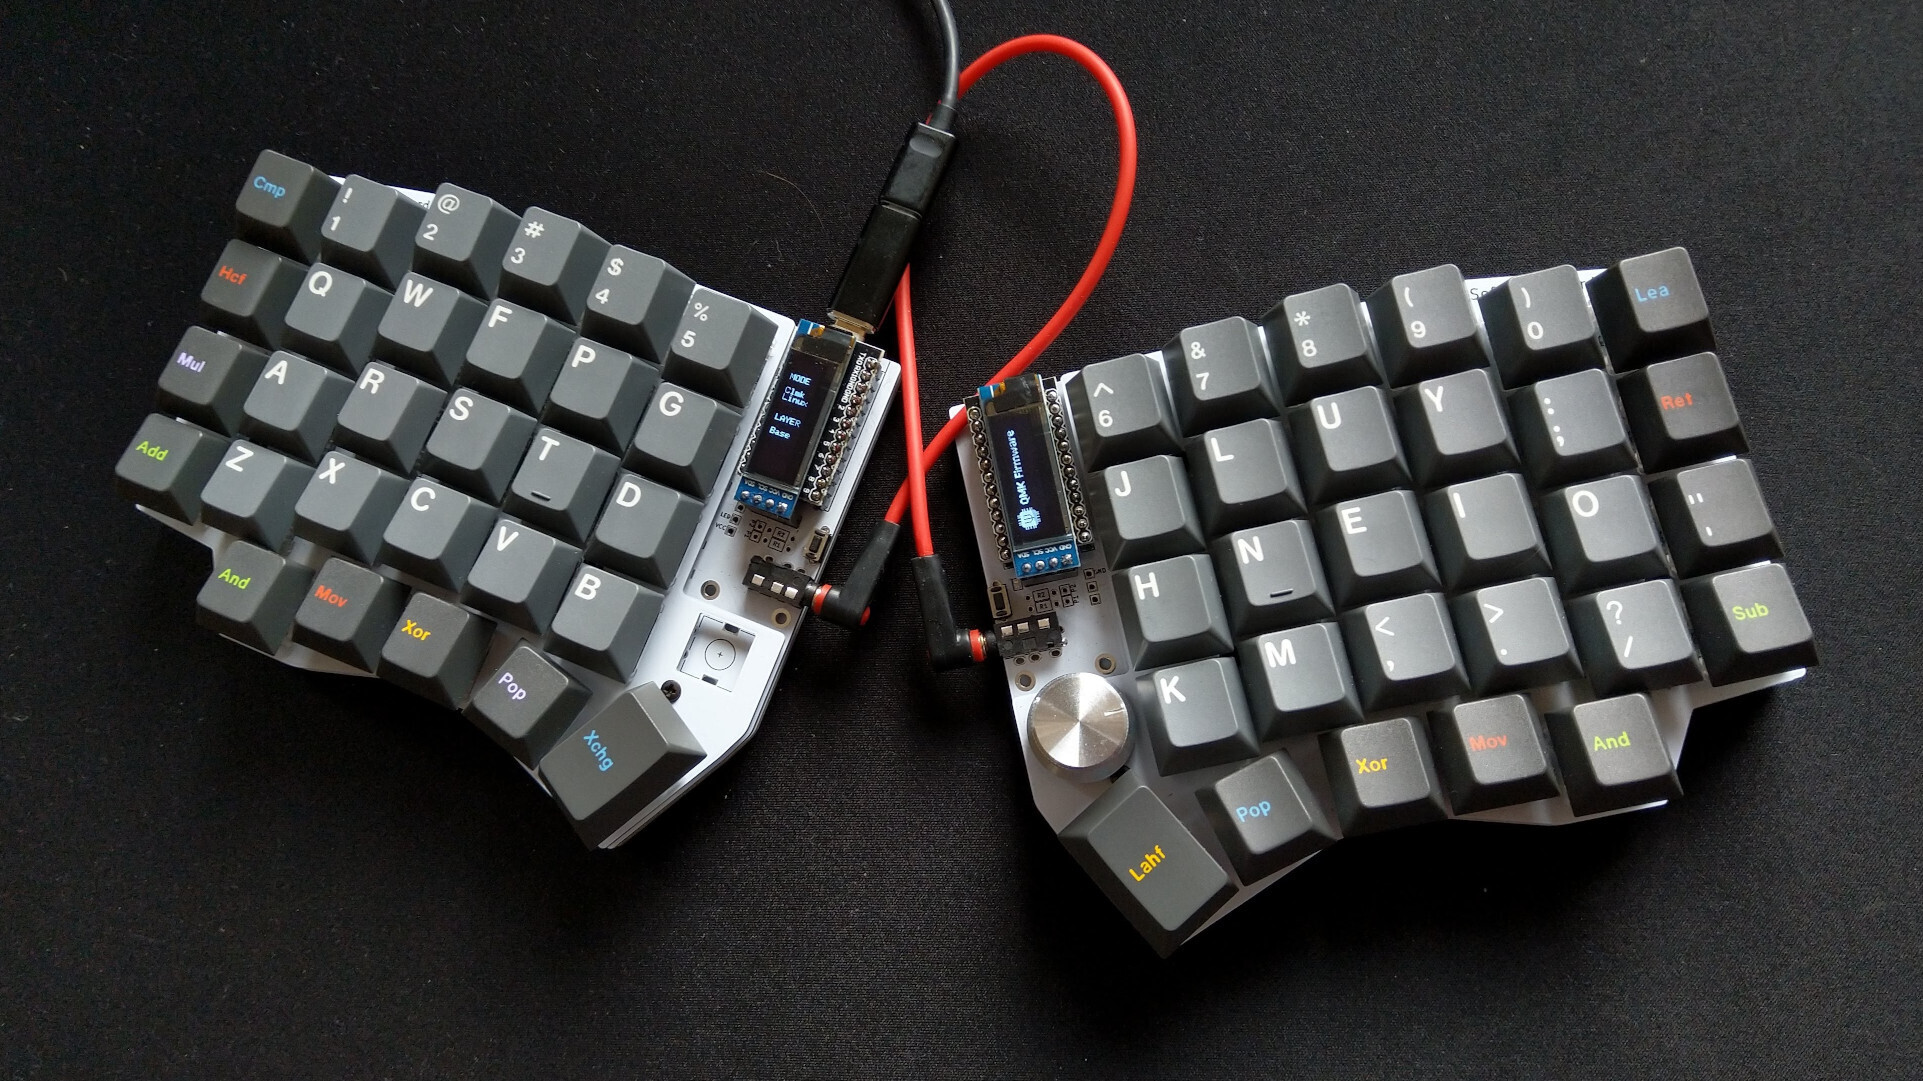
Sofle is 6×4+5 keys column-staggered split keyboard. Based on Lily58, Corne and Helix keyboards.
More details about the keyboard on my blog: Let me introduce you SofleKeyboard - a split keyboard based on Lily58 and Crkbd
The current (temporary) build guide and a build log is available here: SofleKeyboard build log/guide
- Keyboard Maintainer: Josef Adamcik Twitter:@josefadamcik
- Hardware Supported: SofleKeyboard PCB, ProMicro
- Hardware Availability: PCB & Case Data
Make example for this keyboard (after setting up your build environment):
make sofle:default
Flash the default keymap:
make sofle:default:avrdude
Press reset button on he keyboard when asked.
Disconnect the first half, connect the second one and repeat the process.
See the build environment setup and the make instructions for more information. Brand new to QMK? Start with our Complete Newbs Guide.
